by Anna Rohleder | Aug 16, 2017
Notice: Trying to get property 'name' of non-object in /var/www/liveblogpro/wp-content/themes/launchkit/archive.php on line 4
-
News & Updates
August 16, 2017
Cover Elections Like a Winner with Live Blog
Cover Elections Like a Winner with Live Blog
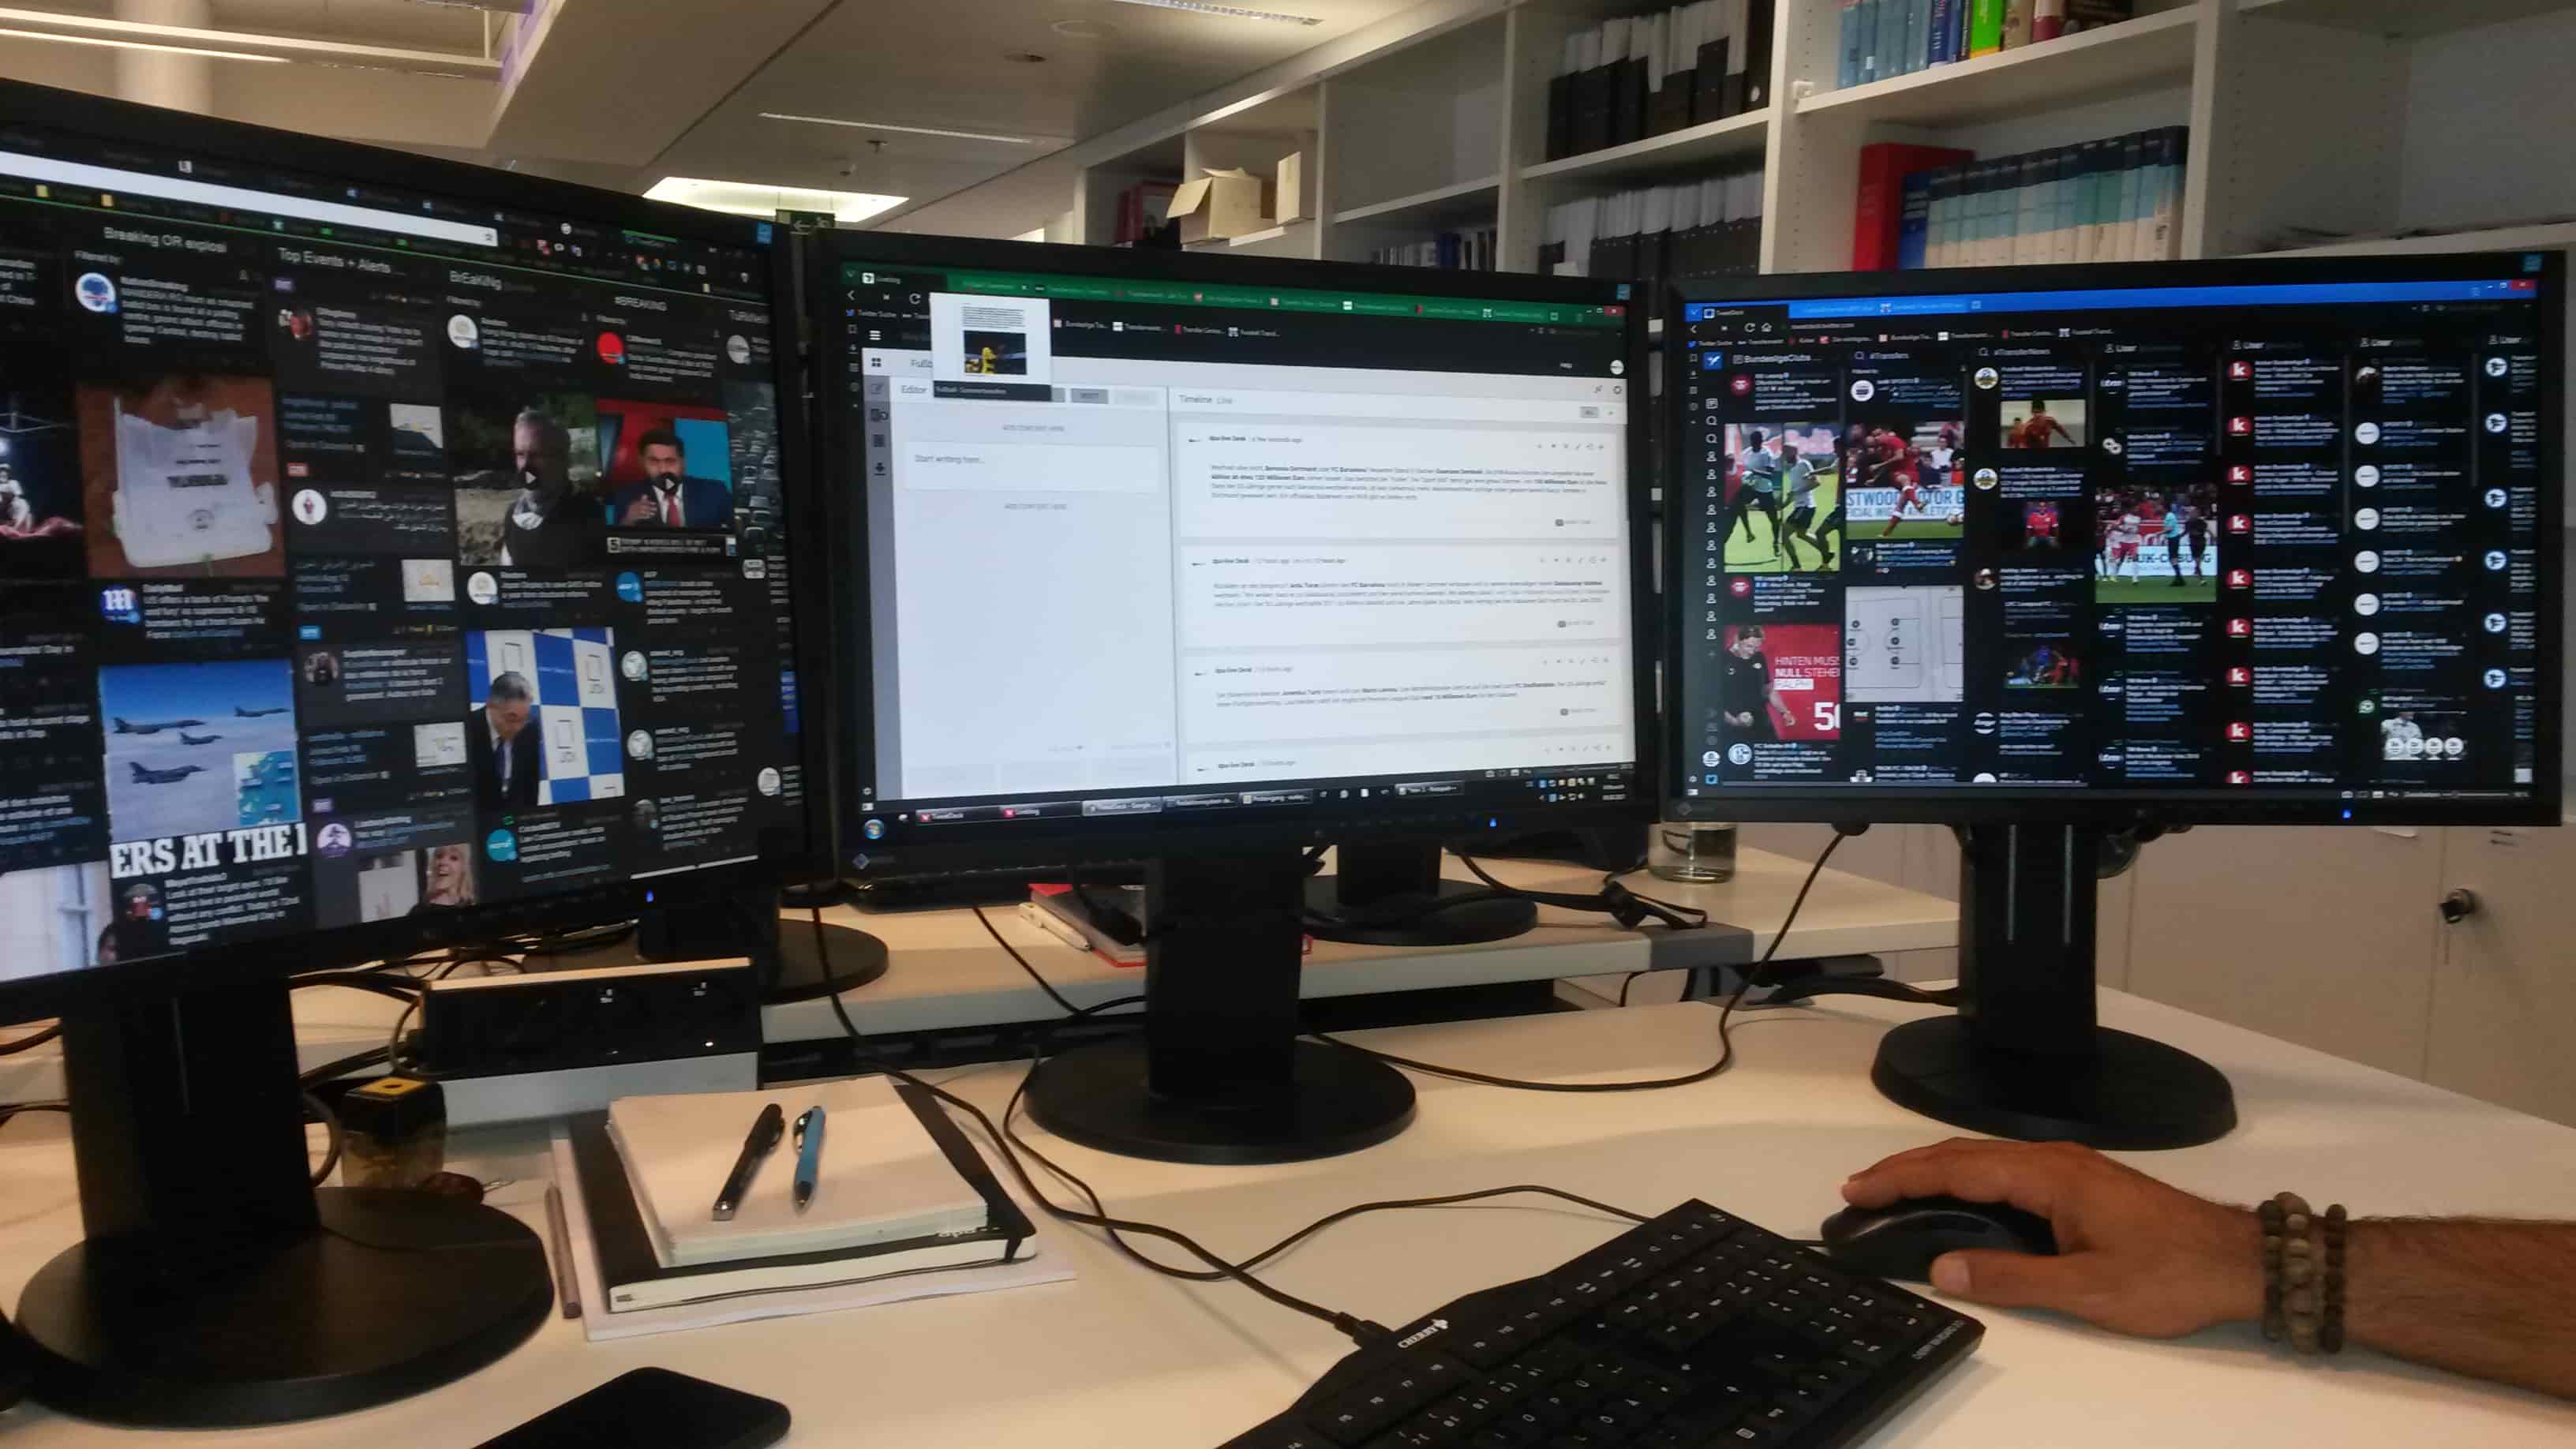
 Süleyman Artiisik, online editor and dpa-live product manager at dpa, Germany’s largest press agency, shares 5 tips for live election coverage that keeps readers coming back for more.
Tip 1: Speed is your friend
Live blogs are well suited to situations where it’s just about getting the facts across rather than going in depth on a topic. For me there’s no faster journalistic format than live blogging.
Tip 2: Every event deserves its own playbook
At dpa, we usually meet as a team about a week before an event we’re planning to cover and put together a script that we want the reporting to follow. Here you really have to think in terms of pure storytelling, from the opening scene to the dramatic arc of how the election plays out, and structure the blog so that you’re building suspense, one post at a time.
Tip 3: Creativity is key
For me, the multimedia aspect is one of live blogging’s main differentiators. Something we appreciate about Sourcefabric’s Live Blog is that it makes it easy to include multimedia. Also, all of our reporters use the Live Blog mobile app, which we use especially for photos.
Tip 4: Learn from every device and format
I always say that live blogging is TV without the live image. Mobile devices were once called second screens but today we have to think mobile-first. At dpa, we optimise our live blog coverage for mobile users, meaning shorter, snappier text – a maximum of two paragraphs. And we create our own graphics in house.
Tip 5: Source from your networks
For any other news organisation looking to cover the German federal elections, I would say take advantage of the coverage offered by dpa elections and dpa live. We give you the whole package, including interactive live graphics, in one go. My tip for covering live events in general is to create Twitter lists related to your topic — and start following them.
August 3, 2017
From Novice To Pro in 6 Steps: How To Launch Your Live Blog
From Novice To Pro in 6 Steps: How To Launch Your Live Blog
by Anthony Covalciuc
New to live blogging?
Here’s a quick 6-steps guide and a 5-minute video to getting started with Live Blog. From setting up your blog to curating and publishing content, you’ll be live blogging like a pro in no time.
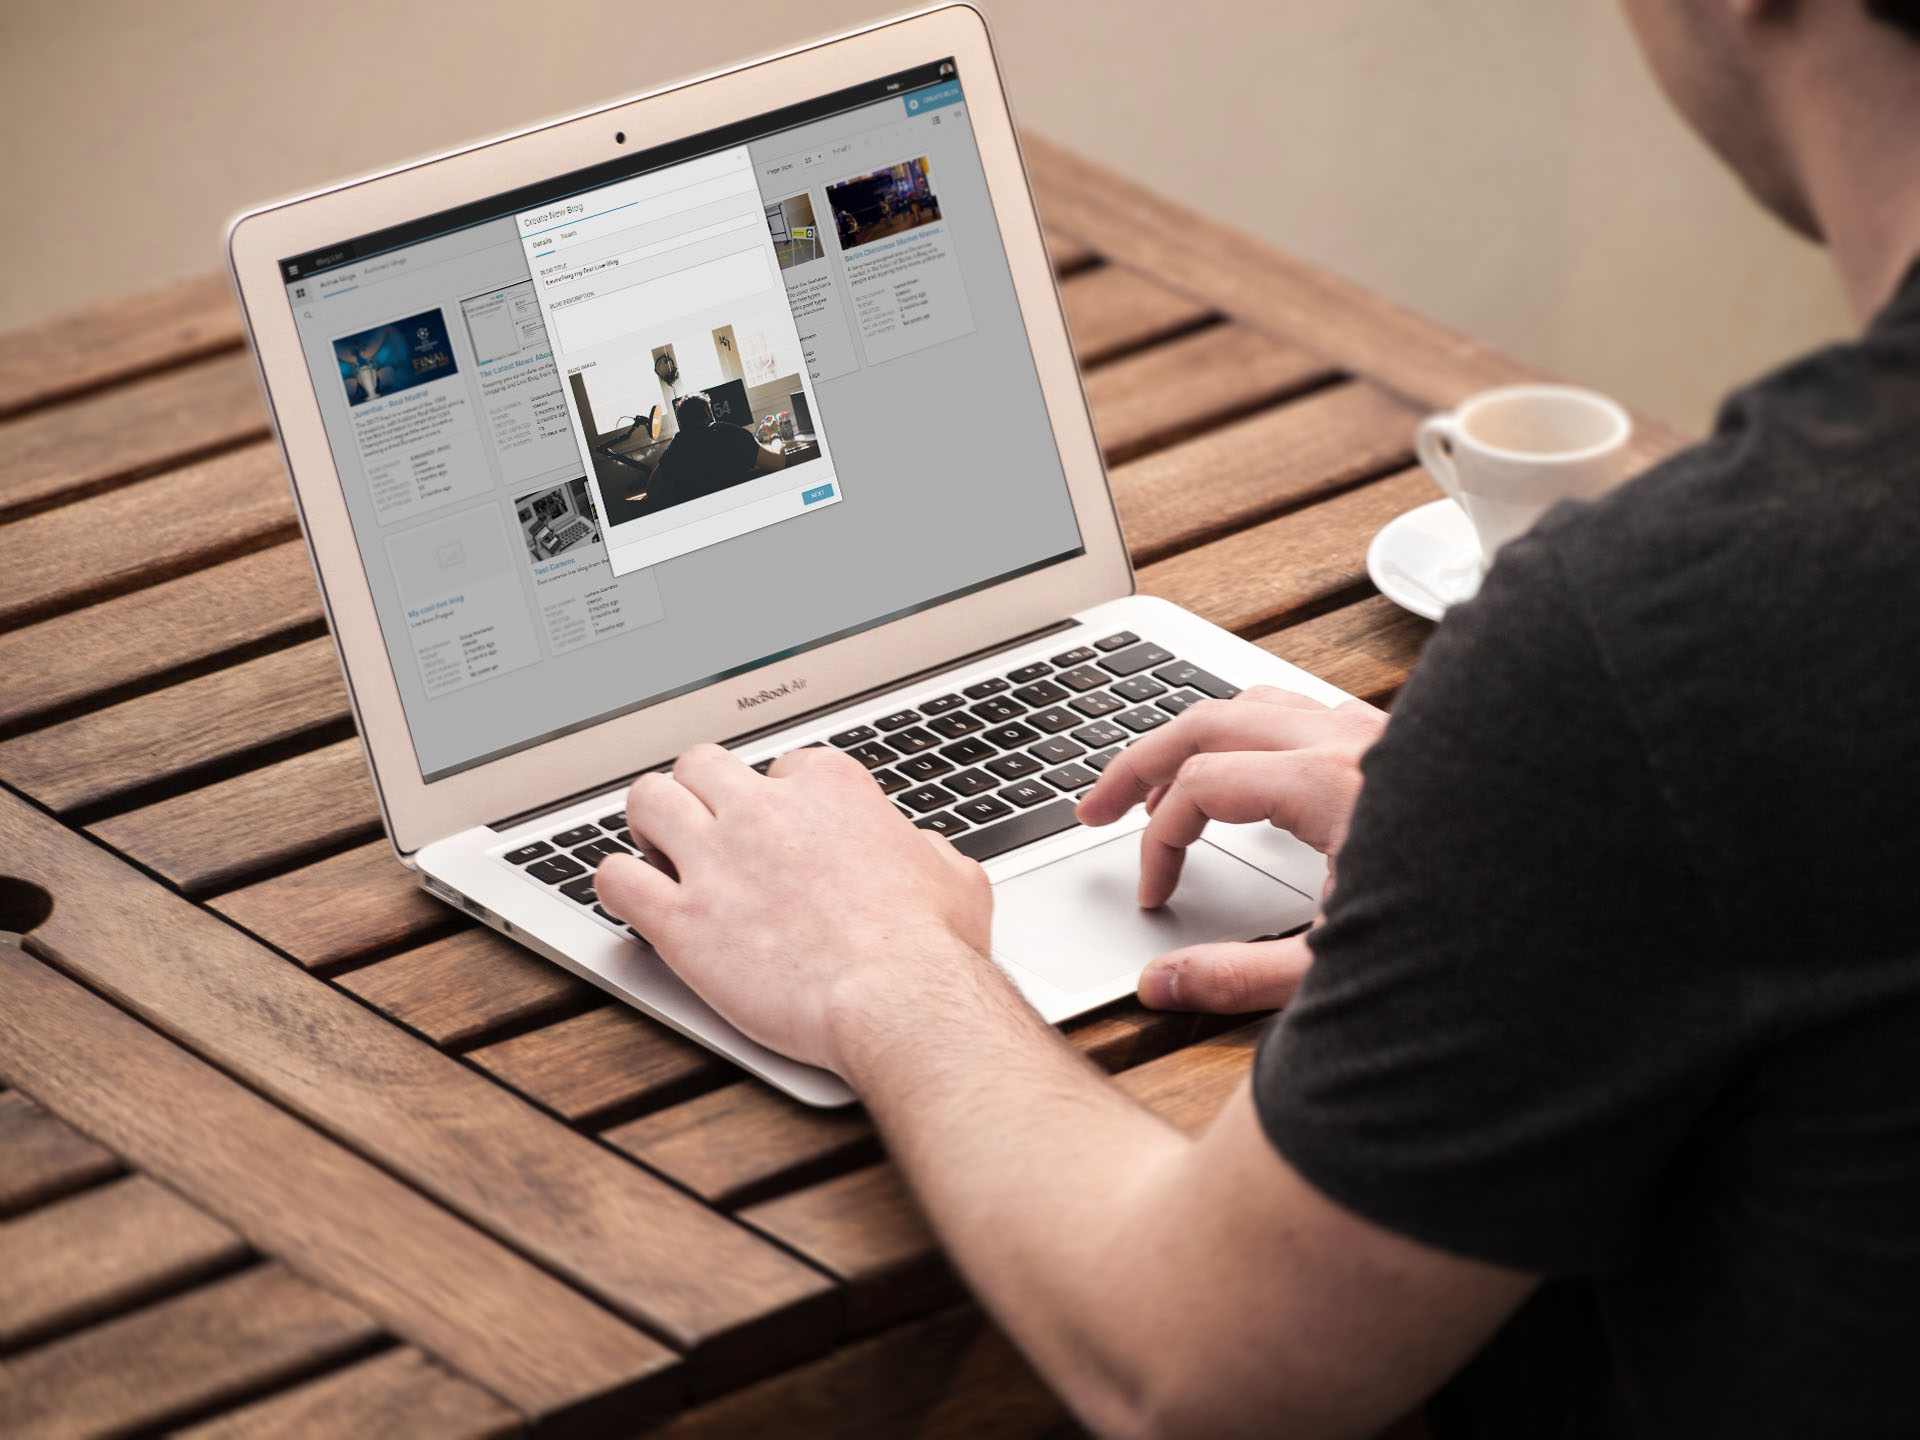
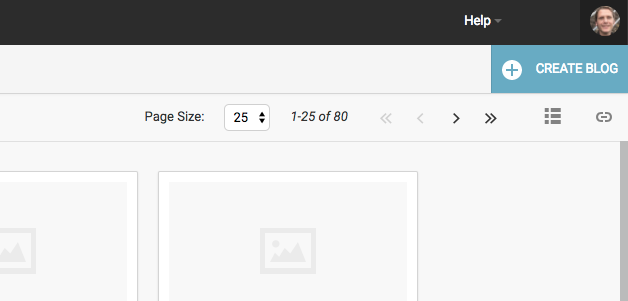
Step 1: Set Up Your Live Blog
To create a new blog, click the “CREATE BLOG” icon in the top-right corner of your screen.
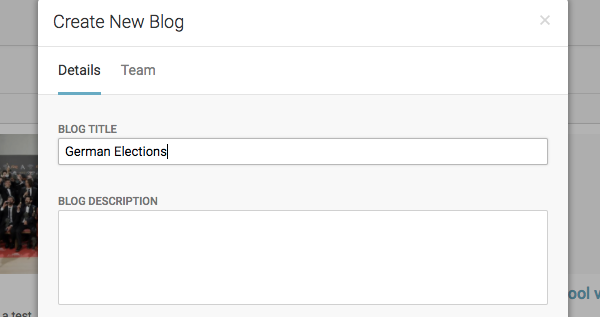
This directs you to a small menu called “Create New Blog”. In this section, the only required field is “BLOG TITLE”. Without entering a title, you can’t proceed to the next phase.
The most important factor in naming your live blog is to communicate clearly the subject you are blogging about. It’s also useful to search for and use some keywords or trending topics related to your coverage, as it will boost visibility and drive more web traffic to your blog.
Step 2: Assemble Your Team
After creating a blog, you have the option to set up a team. Only users who are already in the system can be assigned authorisations to edit, contribute, and work in the back end of your blog.
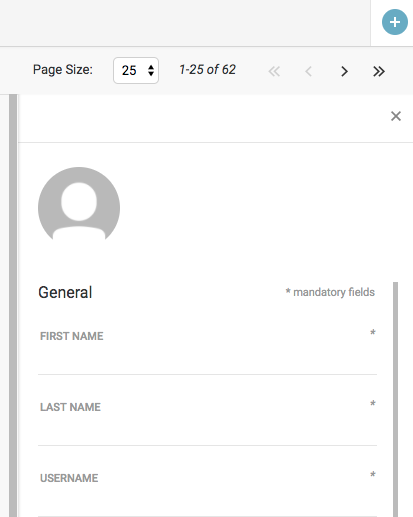
To add new users, click on the dropdown menu in the top-left of the screen and select “USER MANAGEMENT”.

On the following page, click the plus sign in the upper-right corner of the dashboard. A menu will appear which allows you to create new user profiles.
A live blogging team ideally consists of at least 2-3 people, although the team size is relative to your needs and goals. Teams are comprised of editors and contributors. While contributors can only write posts, editors approve, publish, and decide how to present and order posts.
Every team requires at least one editor. If you’re operating alone, then you are both editor and contributor.
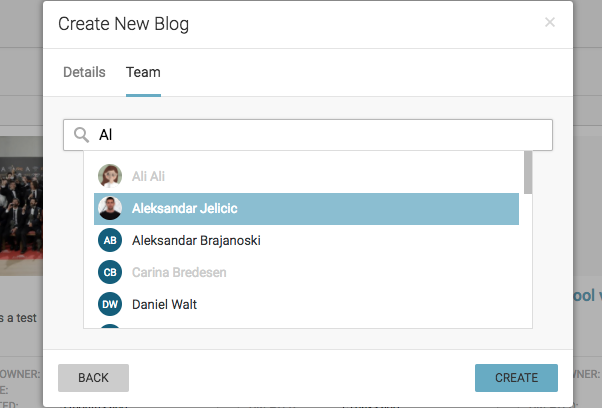
The first action to take is decide on roles and create users for your team members in the system accordingly. Then you can add them to the team by typing their usernames. After you’ve selected your team, click “CREATE” and start blogging.
If live breaking news is the focus of your blog, then it’s a good idea to have a reporter on site to provide an eyewitness account of events. Another great feature of Live Blog is our mobile Reporter App. With the app, your contributors on the ground can submit and publish updates, photos, and other forms of multimedia directly to the blog from their phone.
Other team members can monitor social media and other channels including other blogs, news agencies, etc. They can use this information as either direct embeds in the blog timeline or as indirect sources of information.
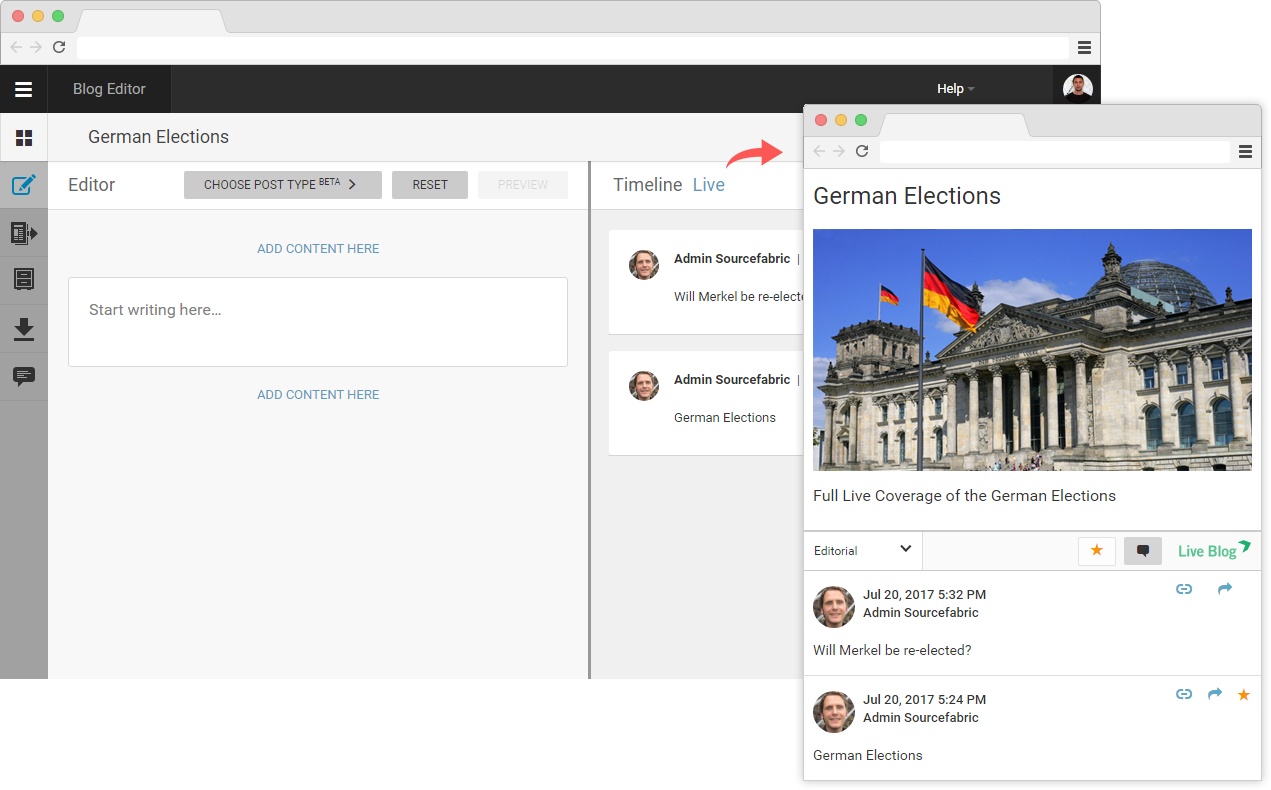
Step 3: Create and Publish Live Content
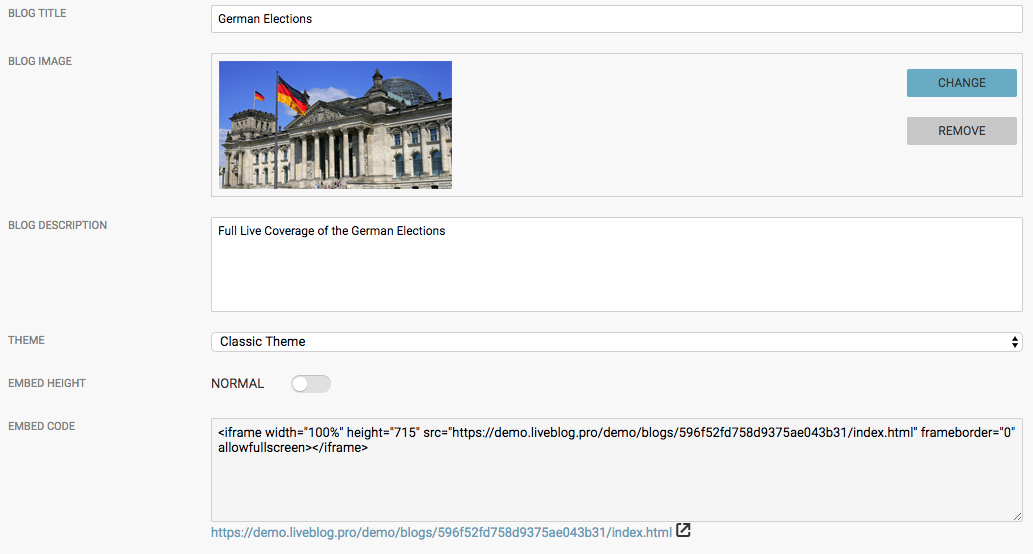
Once your blog has been created, you can start publishing live news instantly. To begin, click the “Settings” icon in upper right corner of your blog. This takes you to a screen which shows both an embed code and a web address. Either one of these can be copied and pasted into your web publishing system of choice such as WordPress, Drupal, Joomla, etc. Once you have done this, everything you post can be published live.
There is a second option which can be used to instantly publish your content. If you click on the “Live” button above the content stream in your dashboard, it redirects you to a Live Blog domain where you can both preview your coverage and even publish it there directly if you don’t have your own website.
Step 4: Post Content For Publication
Providing fast, minute-by-minute coverage of live breaking news stories such as terrorism, disasters, and accidents is sometimes referred to as “what we know, what we don’t know”.
For example, let’s say there was a plane crash in the French Alps – this much we know. However, the reasons behind the crash, the identity of the passengers, if there are any survivors – this much we don’t yet know. Since the coverage for these kinds of stories is often in the form of bullet points or a similar structure, the most common practice is to post a main headline followed by additional updates as they become available.
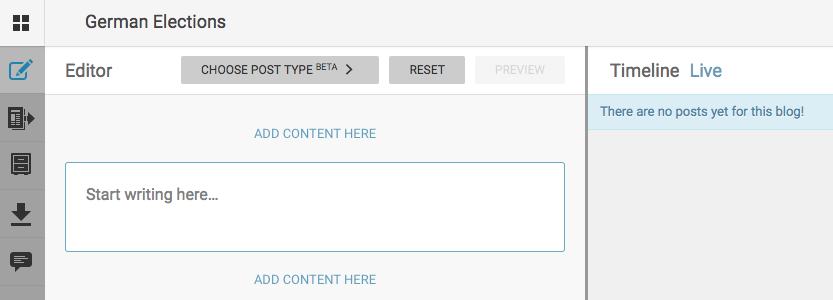
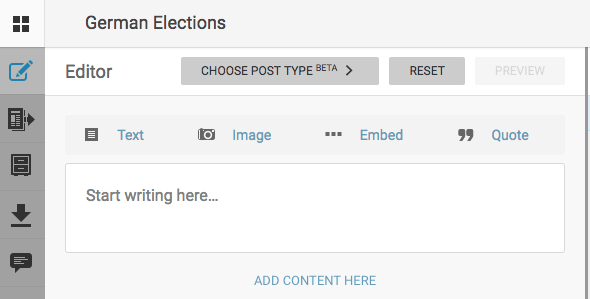
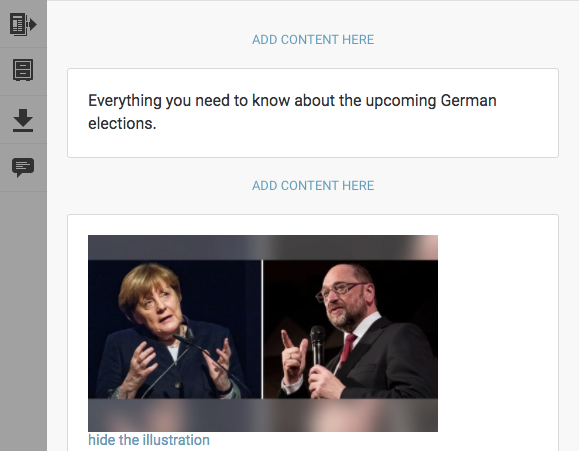
When creating a post, you can add text, images/videos, or other forms of multimedia such as embeds and quotes in the “ADD CONTENT HERE” box. Clicking on the text above or below the box allows you to change the type of media that you would like to use. You can also include additional media in a post by clicking this same option below your text and then dragging and dropping media into the post.
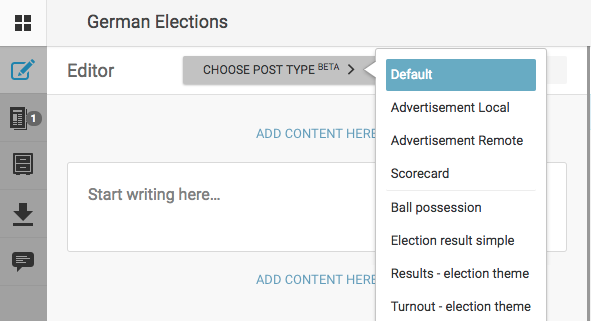
The “CHOOSE POST TYPE” option provides you with a number of templates for different types of content, ranging from news coverage of elections and sports to advertisements.
Once you’ve added some content, options will appear at the bottom: “PUBLISH”, “SUBMIT”, and “SAVE DRAFT”. All team members can offer contributions to the blog by using the “SUBMIT” function, and this allows the editor to review, edit, and curate items before publishing them. In the previous image, you’ll notice a notification of a new submission in the “Contributions” inbox on the left of the screen, which is where all submissions are stored as drafts for editors. Depending on your user role, you may be able to publish directly on the blog by using the “PUBLISH” function.
If you choose not to publish or submit, but would rather save unfinished or ongoing work, click on “SAVE DRAFT”. Anything saved as a draft is only visible to you.
Step 5: Make Sure Your Readers Get The Right Content
As an editor, it’s important to make sure that your readers always have access to the most important information, no matter when they start reading. Editors can “Highlight” or “Pin” posts both when reviewing a contribution or after an item has been published to the live blog stream. The icons for these actions appear at the top-right of a draft or post.
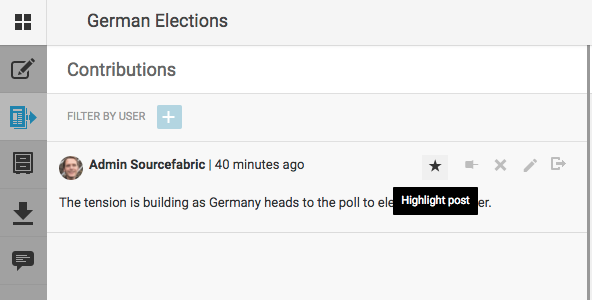
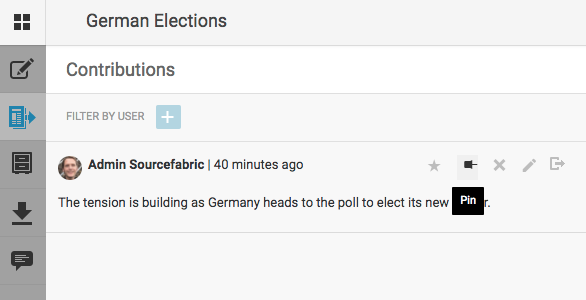
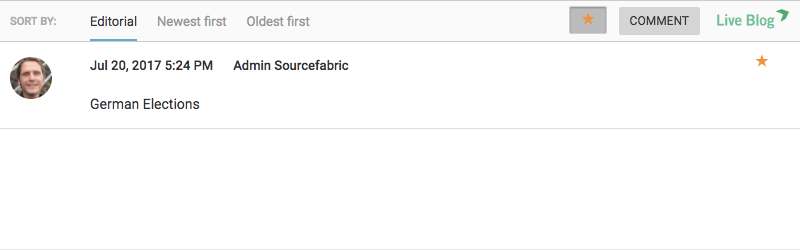
Pinned posts will always remain at the top of your blog stream, while those which you highlight are marked with a gold star. What makes highlighted posts really useful is that they can become instant curated content. To see how this works, click the “Live” option from Step 2 to preview the blog. Then once you click on the highlighted post option next to “COMMENT”, all highlighted posts will be grouped into a list for your subscribers.
Step 6: Refine Your Audience Engagement Strategy
A great way to engage with your community is to utilise Live Blog’s User Comments feature. Comments encourage readers to return to a site to follow a discussion or debate. By paying attention to what people are saying, you will also gain insight into the quality of your blog as well as your editorial strategy, and this can be used to develop future blog topics. You may also be able to incorporate direct user feedback in real time, including eyewitness reports or accounts of what other news agencies and sources of information are reporting.
Want more info? Have a look at the Live Blog manual.
For tips on ways to popularise your live coverage, check out this blog post.