by Gregory Bruno | June 15, 2020
Notice: Trying to get property 'name' of non-object in /var/www/liveblogpro/wp-content/themes/launchkit/archive.php on line 4
-
News & Updates
June 15, 2020
How to publish Tweets to your Live Blog with just one click

How to publish Tweets to your Live Blog with just one click
With social media the preferred outlet for newsmakers to break news, journalists today need easy ways to share these digital morsels of information with their audiences. One common tactic – trawling Twitter feeds, copying embed codes, and pasting this data into a news organisation’s website or blog – is time-consuming and inefficient.
With Live Blog, this process can be automated. Here’s how:
If you don’t have a Live Blog account, you’ll need one to get started. Visit Liveblog.pro to sign up for your free seven-day trial.
Now that you have a Live Blog instance, the first step is to create an account at Integromat, a free service that connects apps and automates workflows.
Once you’ve created an account, log into Integromat and follow the steps below. Parts I and II of this setup will configure Integromat to connect Twitter with your Live Blog account so that you can easily monitor someone’s Twitter activity from within the Live Blog dashboard. Part III will show you how to publish tweets to your Live Blog timeline.
Setup Part I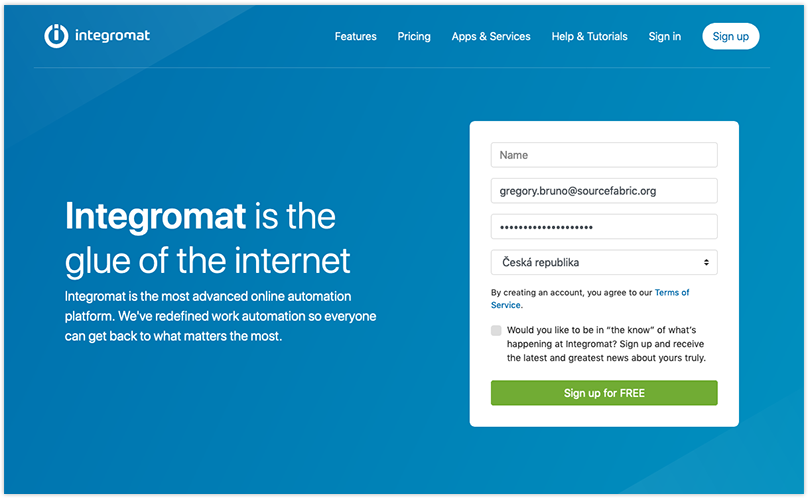
- Click the “Create a New Scenario” button in the top right corner of Integromat.com. This will bring you to a page where you can set up your first module. To do that, type “Twitter” in the search bar. Once you’ve selected Twitter, hit “Continue.”
- On the next screen you’ll see the dashboard for the scenario you’re going to create. Click on the question mark (“?”) and select, “Watch Tweets.”
- Now you need to permit your Twitter module to watch tweets using your newsroom’s Twitter account. Do this by adding a connection, naming it, and then by clicking “Authorise.”
- We want to configure Integromat to watch “Someone Else’s Tweets;” pull the dropdown menu to do that.
- Now, enter the Twitter handle, or “Screen Name,” minus the @ symbol, of the account you want to ingest into Live Blog. Select “Return Full Text of Tweets,” and then choose how many tweets you want Integromat to ingest at a time. You can choose any number you want.
- Finally, you need to tell Integromat when to start ingesting tweets. You can choose any date in the past or from now on.
Setup Part II
With your Twitter module established, the second step is to configure Integromat to connect this module to your Live Blog account. To do that, follow these steps:
- Click on the half-bubble to the right of the newly-created Twitter module, select the “+” button, and type “Live Blog.”
- If you don’t see Live Blog as an option, click on this link, add the scenario to your account, refresh the page, and then try again.
- Once you’ve selected Live Blog, you’ll be prompted with a window of choices; select “Create a Contribution.”
- Next, you’ll be asked to set up a connection between your Live Blog module in Integromat, and your Live Blog account. To do that, click the “Add” button, create a connection name – it can be anything – then add the URL for your blog. Importantly, you must add “-api” to make the URL work. [Example: https://demo–api.liveblog.pro]. This tells Live Blog that a third-party app is trying to connect.
- Enter your username and password.
- If your Live Blog instance has more than one blog associated with it, the next window will prompt you to choose a specific blog to connect to.
- You can ignore the “Select Tag” box, but below that you must enter a value for “Select Post Structure.” Pull that dropdown window and select “Twitter Post.” Here, you will once again need to input the “Screen Name” of the Twitter account that you are following.
- Finally, in the “Tweet ID” box, you need to provide the identification that we are getting from the blue module. Click the blue “Tweet ID” box, and the field will auto populate. You can ignore the “Autopublish” box.
- Click “OK.”
- Now, establish the intervals that Integromat will pull content from the Twitter account you’re watching. Set that by clicking the “Clock” icon.
- Once you’ve established the connection in Integromat, click “Run Once” to start feeding tweets into your Live Blog from the selected Twitter account.
- Finally, be sure to click “Save.” If you want to watch another Twitter account in your Live Blog editor window, you’ll need to create another scenario by repeating Parts I and II.
Setup Part III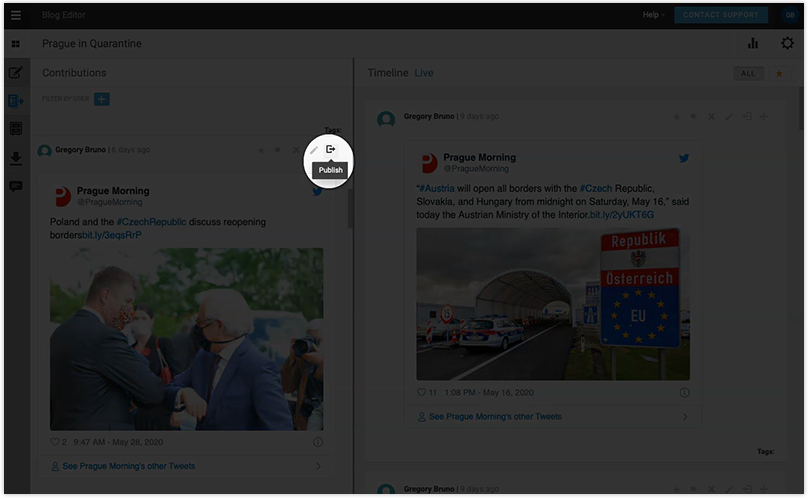
Now, let’s see what all of this looks like in Live Blog.
On the left side of your Live Blog editing panel, click the “Contributions” button. Inside this pane is where all of the tweets fetched from the account or accounts that you are watching will appear. When you want to publish a tweet to your blog, simply push this “Publish” button, and it’s done. If you want to remove a tweet to keep this pane organised, click “Remove.”
Once you publish, you can see what it looks like by clicking “Live” next to “Timeline” at the top of your editing window.
And that’s it. With this integration, you’ll never again need to switch between windows or copy embed codes to share a newsmaker’s tweets with your audience. Everything you need to post quickly is now right in the editing screen of your Live Blog.