by Greg Bruno | Jan 20, 2020
Mobile Blogging with the Live Blog Reporter App
In the modern media landscape, audiences expect news when it happens. Live blogs are one of the fastest ways to deliver it, and with our mobile blogging tool, updating readers has never been easier.
In this post (and in the video below) we’re going to demonstrate how to set up and use the Live Blog Reporter App, which gives your blog writers the ability to write and file from anywhere.
We recently tested the app at a pro-democracy protest in Prague to show you how convenient mobile live blogging can be.
1st Step: Install the Reporter App
The first step is to install the Reporter App on the mobile device you want to work from. Search for “Live Blog Reporter” in the iOS or Google Play app stores. Once you’ve got the app on your device, make sure you’re registered as a user and team member for the Live Blog you want to work on. And, if you need a Live Blog instance, visit liveblog.pro to try Live Blog for free.
Once your account is up and running, the next step is to log into the app. On the app’s home screen enter the URL of your Live Blog instance, your username, and your password. Now, locate the blog you want to work on from your organisation’s Blog List. You can only work on blog’s that are bolded; if a name is greyed out it means you don’t have access.
For this tutorial we’ll walk you through how to post images and videos shot from your device to your Live Blog timeline. We’re using images and videos that we took at a huge protest in Prague’s Letna Park in November 2019.
Step 2: Upload an image along with text
When you log into your Live Blog, you’ll be directed to the Editor pane by default. To post an image along with our text, click the “Image” icon on the app’s menu bar. Then select an image from your device’s gallery. Add a description and author information. Finally, save your work by clicking the “check mark” in the upper right-hand corner of the Editor window.
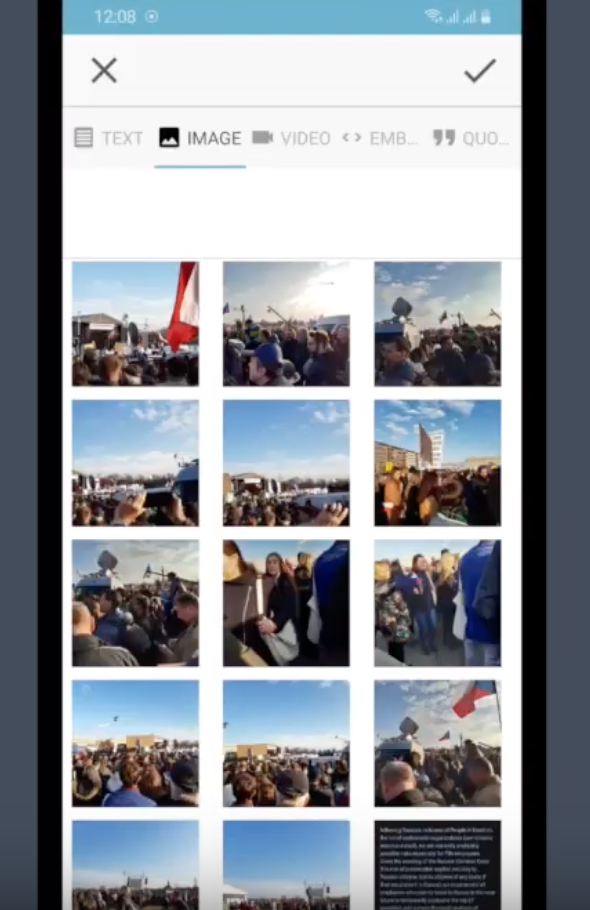
Adding an image
Step 3: Add additional elements
If you want to add additional elements to the post – whether it’s text, images, or videos – click the “plus” sign below the image you just upload.
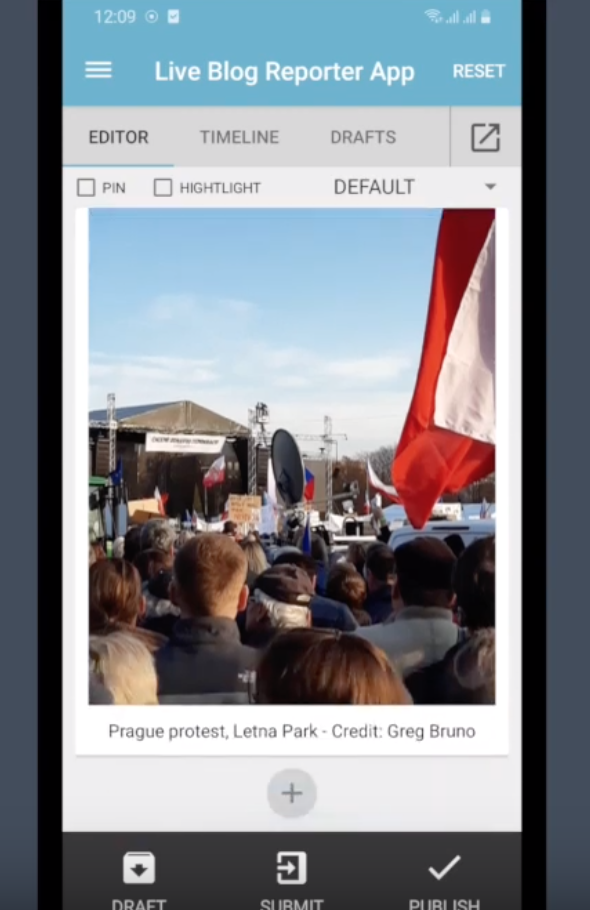
Adding additional elements
Once you’re happy with your post, you can either save it as a “Draft” – a helpful option if you are in an area with weak Internet connectivity – “Submit” it for editorial approval based on your organisation’s workflow, or “Publish” it directly to your Live Blog’s timeline. To see your post in its published form, click the “Timeline” tab at the top of the app. Or visit your blog on the Web.
You can also “Delete,” “Unpublish” or “Edit” a post simply by clicking on it from the “Timeline” view within the App.
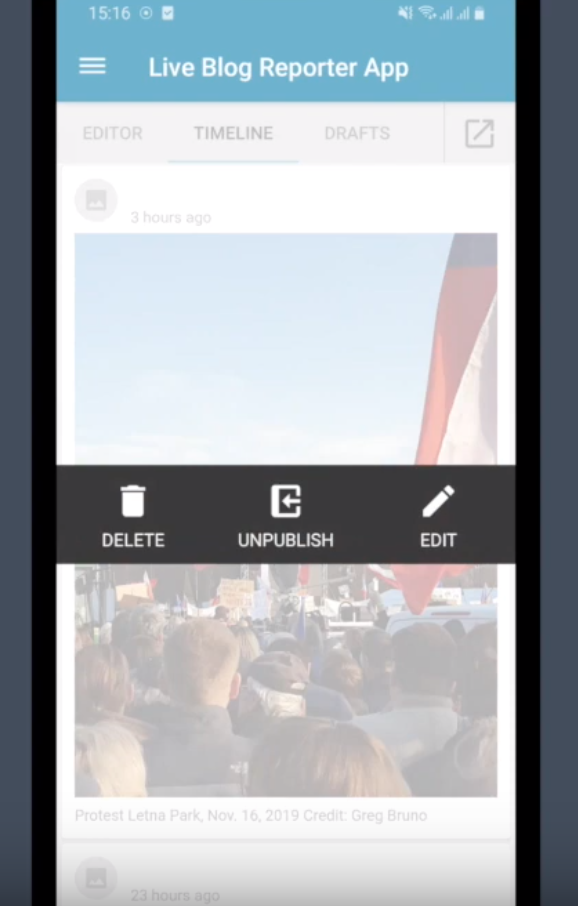
Delete, unpublish or edit
And there you have it. Live blogging on the go is as easy as it’s ever been with the Live Blog Reporter App. For more Live Blog tutorials, check out our YouTube channel or visit us at liveblog.pro.